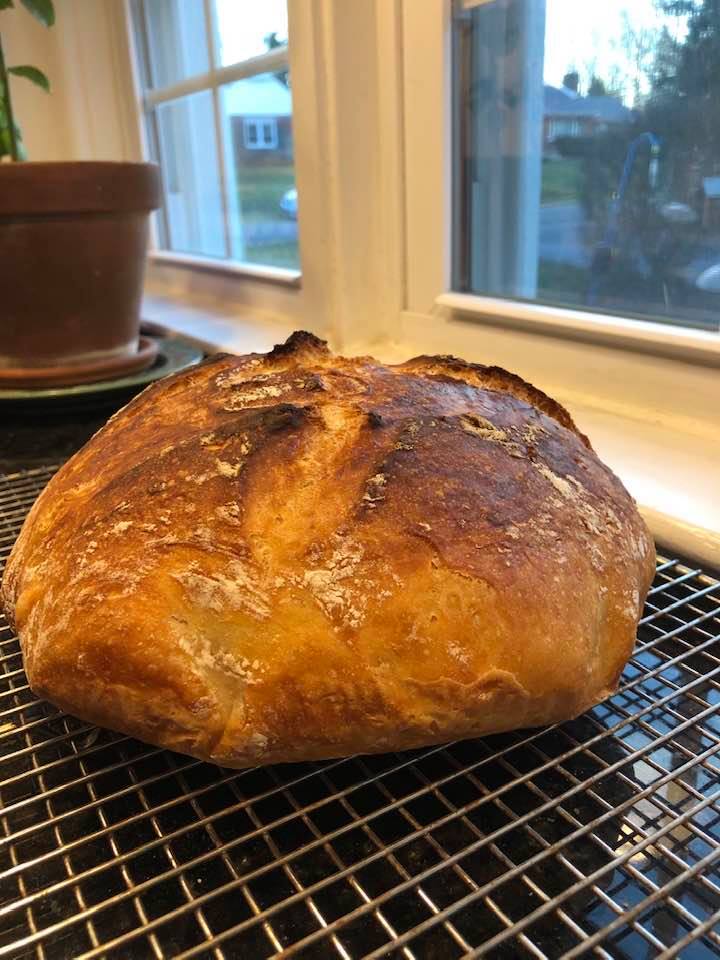
Foolproof (Even in Jeff's Kitchen) Artisan Bread
So someone on Facebook posed a request for a foolproof bread recipe.
Now, I can’t take credit for this; Ellen found and made this recipe (three times so far, and another batch is in the fridge even as we speak) while I was in California a few weeks ago, and I got none of the first batch, but I did get some of the second, which included fresh rosemary and was fabulous.
I watched her make the last batch, and I can attest to A) the fact that it is delicious; and B) it’s foolproof.
The recipe comes from https://sallysbakingadiction.com. I suggest you check this site out. I should also point out, as I have recently discovered, that this recipe is fundamentally the legendary New York Times No-Knead bread, with a couple of small tweaks.
Immediately!
I won’t bore you with a long and dragged out essay for this recipe; it’s long all by itself, and I know you simply can’t wait. So here it is:
Homemade Artisan Bread in a Dutch Oven
Ingredients:
3 1/4 cups bread flour (spoon and level), plus more for hands and pan
2 teaspoons instant yeast
2 teaspoons coarse salt
1 1/2 cups cool water
Optional: cornmeal for dusting the pan
Preparation:
1. In a large ungreased bowl, whisk the flour, yeast, and salt together. pour in the cool water and gently mix together with a wooden spoon or rubber spatula. The dough may seem dry. Stick with it. Keep mixing (use your hands if you must) until all the flour is moist. The dough will be sticky. Do the best you can, and shape it into a ball. Cover tightly with plastic wrap or foil and set aside at room temperature; allow to rise 2-3 hours. It should about double in size, stick to the bowl, and be full of bubbles.
You can proceed immediately, but it is better if the dough rests in the fridge for at least 12 hours, and up to three days. We usually rest the dough overnight. After a couple of days it might begin to deflate. That’s okay.
Turn the dough out onto a lightly floured work surface, and using floured hands shale into a ball as best you can; doesn’t have to be perfect. Transfer the dough onto a large piece of parchment paper, large enough to fit into a Dutch oven using a sharp knife, score an “X” into the top of the dough, about a half inch deep. Cover the dough loosely with plastic wrap and leave it alone for about a half hour.
During the resting period, preheat your oven to 475 degrees F., with the Dutch oven and the lid inside the oven. After the 30-minute rest, takethe Dutch oven out of the oven (BE CAREFUL; IT’S VERY HOT!!). Carefully lift the paper and place it into the pot—paper and all—and cover it. Bake for 25 minutes with the lid on. Then remove the lid and continue baking 8-10 minutes longer, or until the bread is golden brown. Remove the pot from the oven and carefully remove the bread from the pot. Allow to cool on a rack for at least 30 minutes.
In reality, you shouldn’t cut into the bread until it is completely cool, but no one I know can wait that long, and besides, what’s better than warm bread slathered with butter or some fresh jam?Store loosely covered at room temperature for 4-5 days (like it might actually last that long??? or in the fridge for 10 days (Yeah, Right!!!).
If you don’t have a Dutch oven, or would rather bake the bread in loaves on a baking sheet, go to Sally’s website (link above) and follow the instructions for that variation.
The bread also freezes nicely; allow to cool completely and wrap air tight and place in a freezer container before freezing.
Posted on March 23, 2020, in Recommendations. Bookmark the permalink. Leave a comment.

Leave a comment
Comments 0